Making elderflower cordial from flowers in the forest / How I made elderflower cordial
The flowers had been out for a week or more before I set out in search of them. As the days had gone by and I’d seen tree after tree of them flowering white on the sides of the road – I knew the time was going to slip by for picking season if I didn’t hurry.
You need dry weather for picking elderflowers, and you need to go late enough for any dew to dry. I set off one Sunday morning on my initial search. It was more of an all round foraging adventure, but those flowers were high on my list.
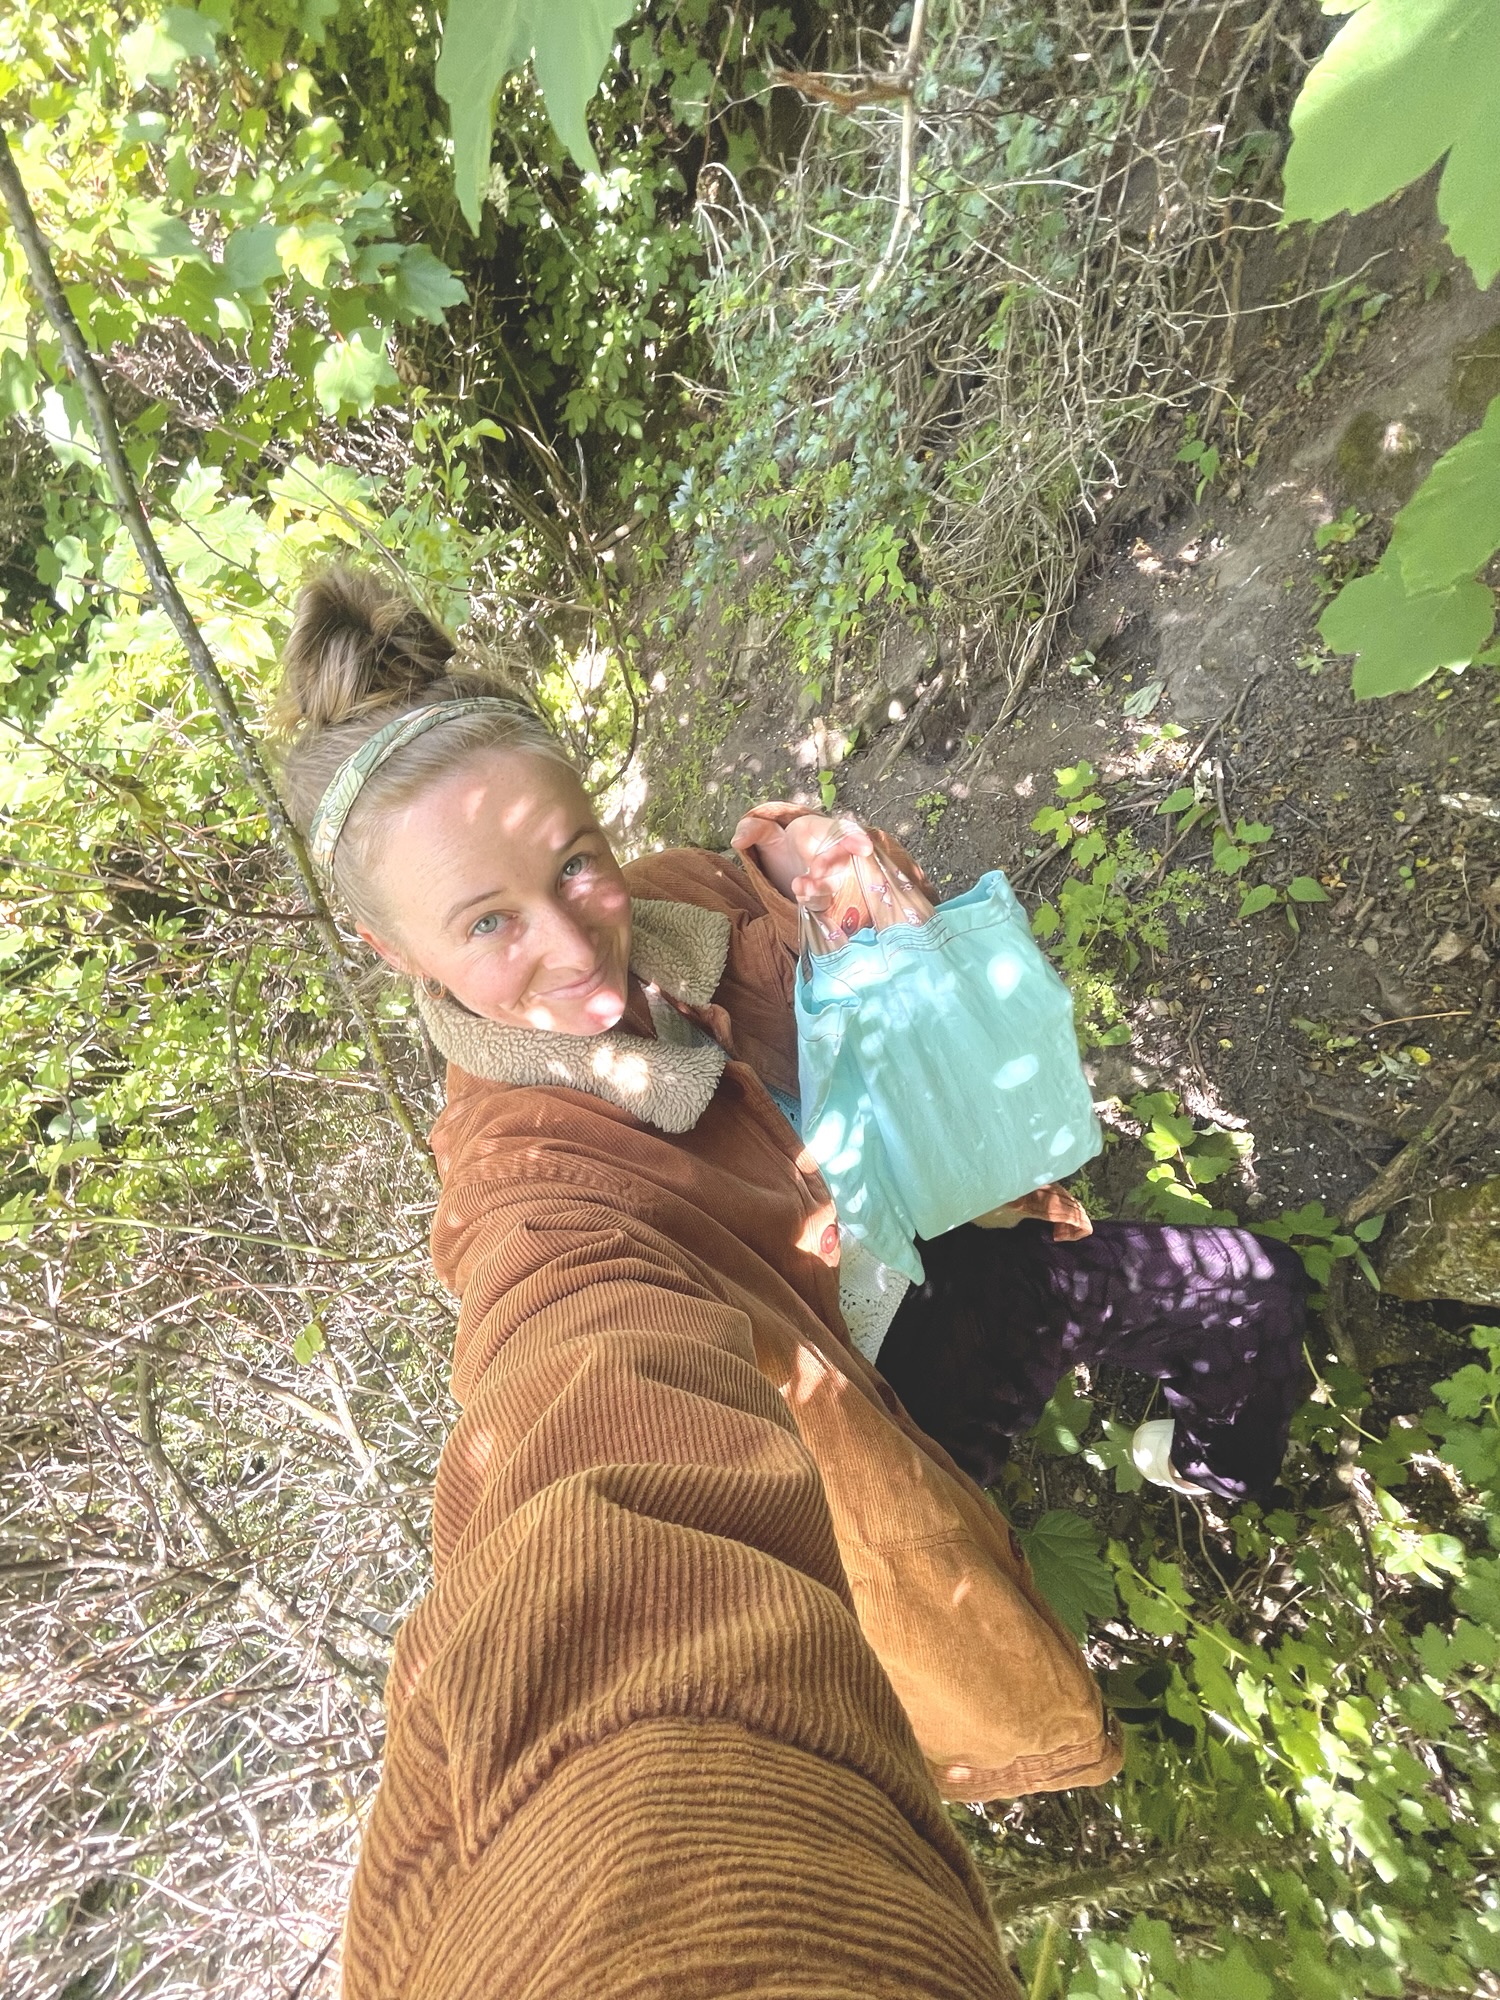
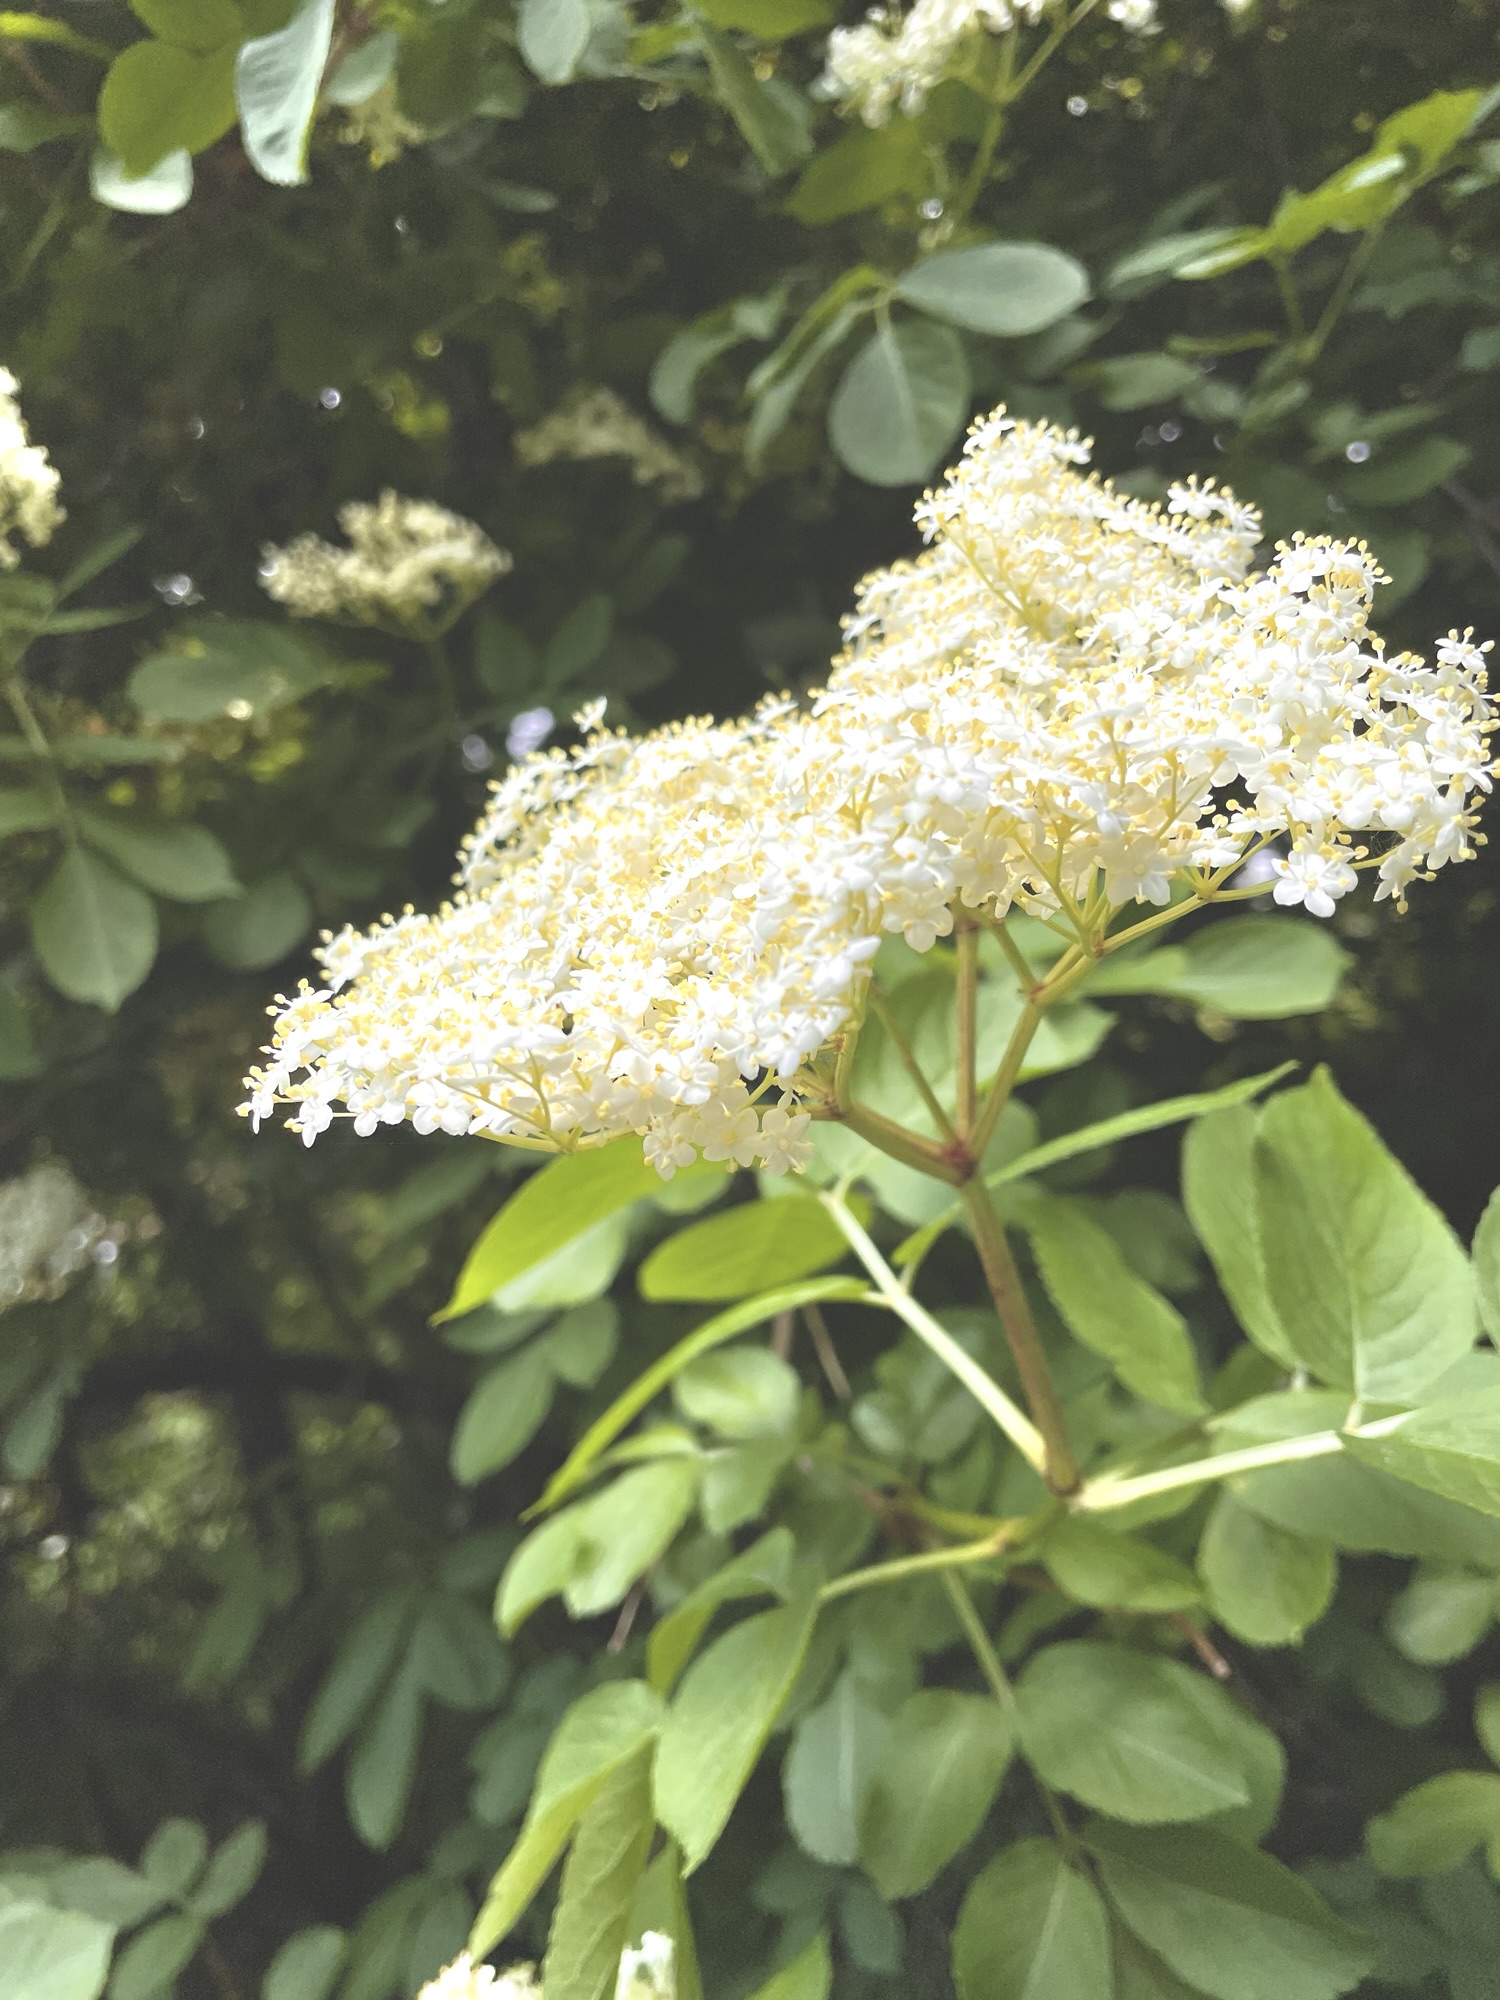
I knew they were somewhere, as I’d seen the white flowers from across the hill. Now I just had to find them.
The forest crunchy and warm and quiet as I trekked through, heading upwards. The bunnies all ran away as I passed by, their white tails bobbing into the underbrush.
Soon I reached a large rock, and elderflower tree! Alas, it was very large, and seemed to have barely any flowers close to the ground, all of them blooming as close to the sky as possible. Although I reached a couple, it was time to walk on.
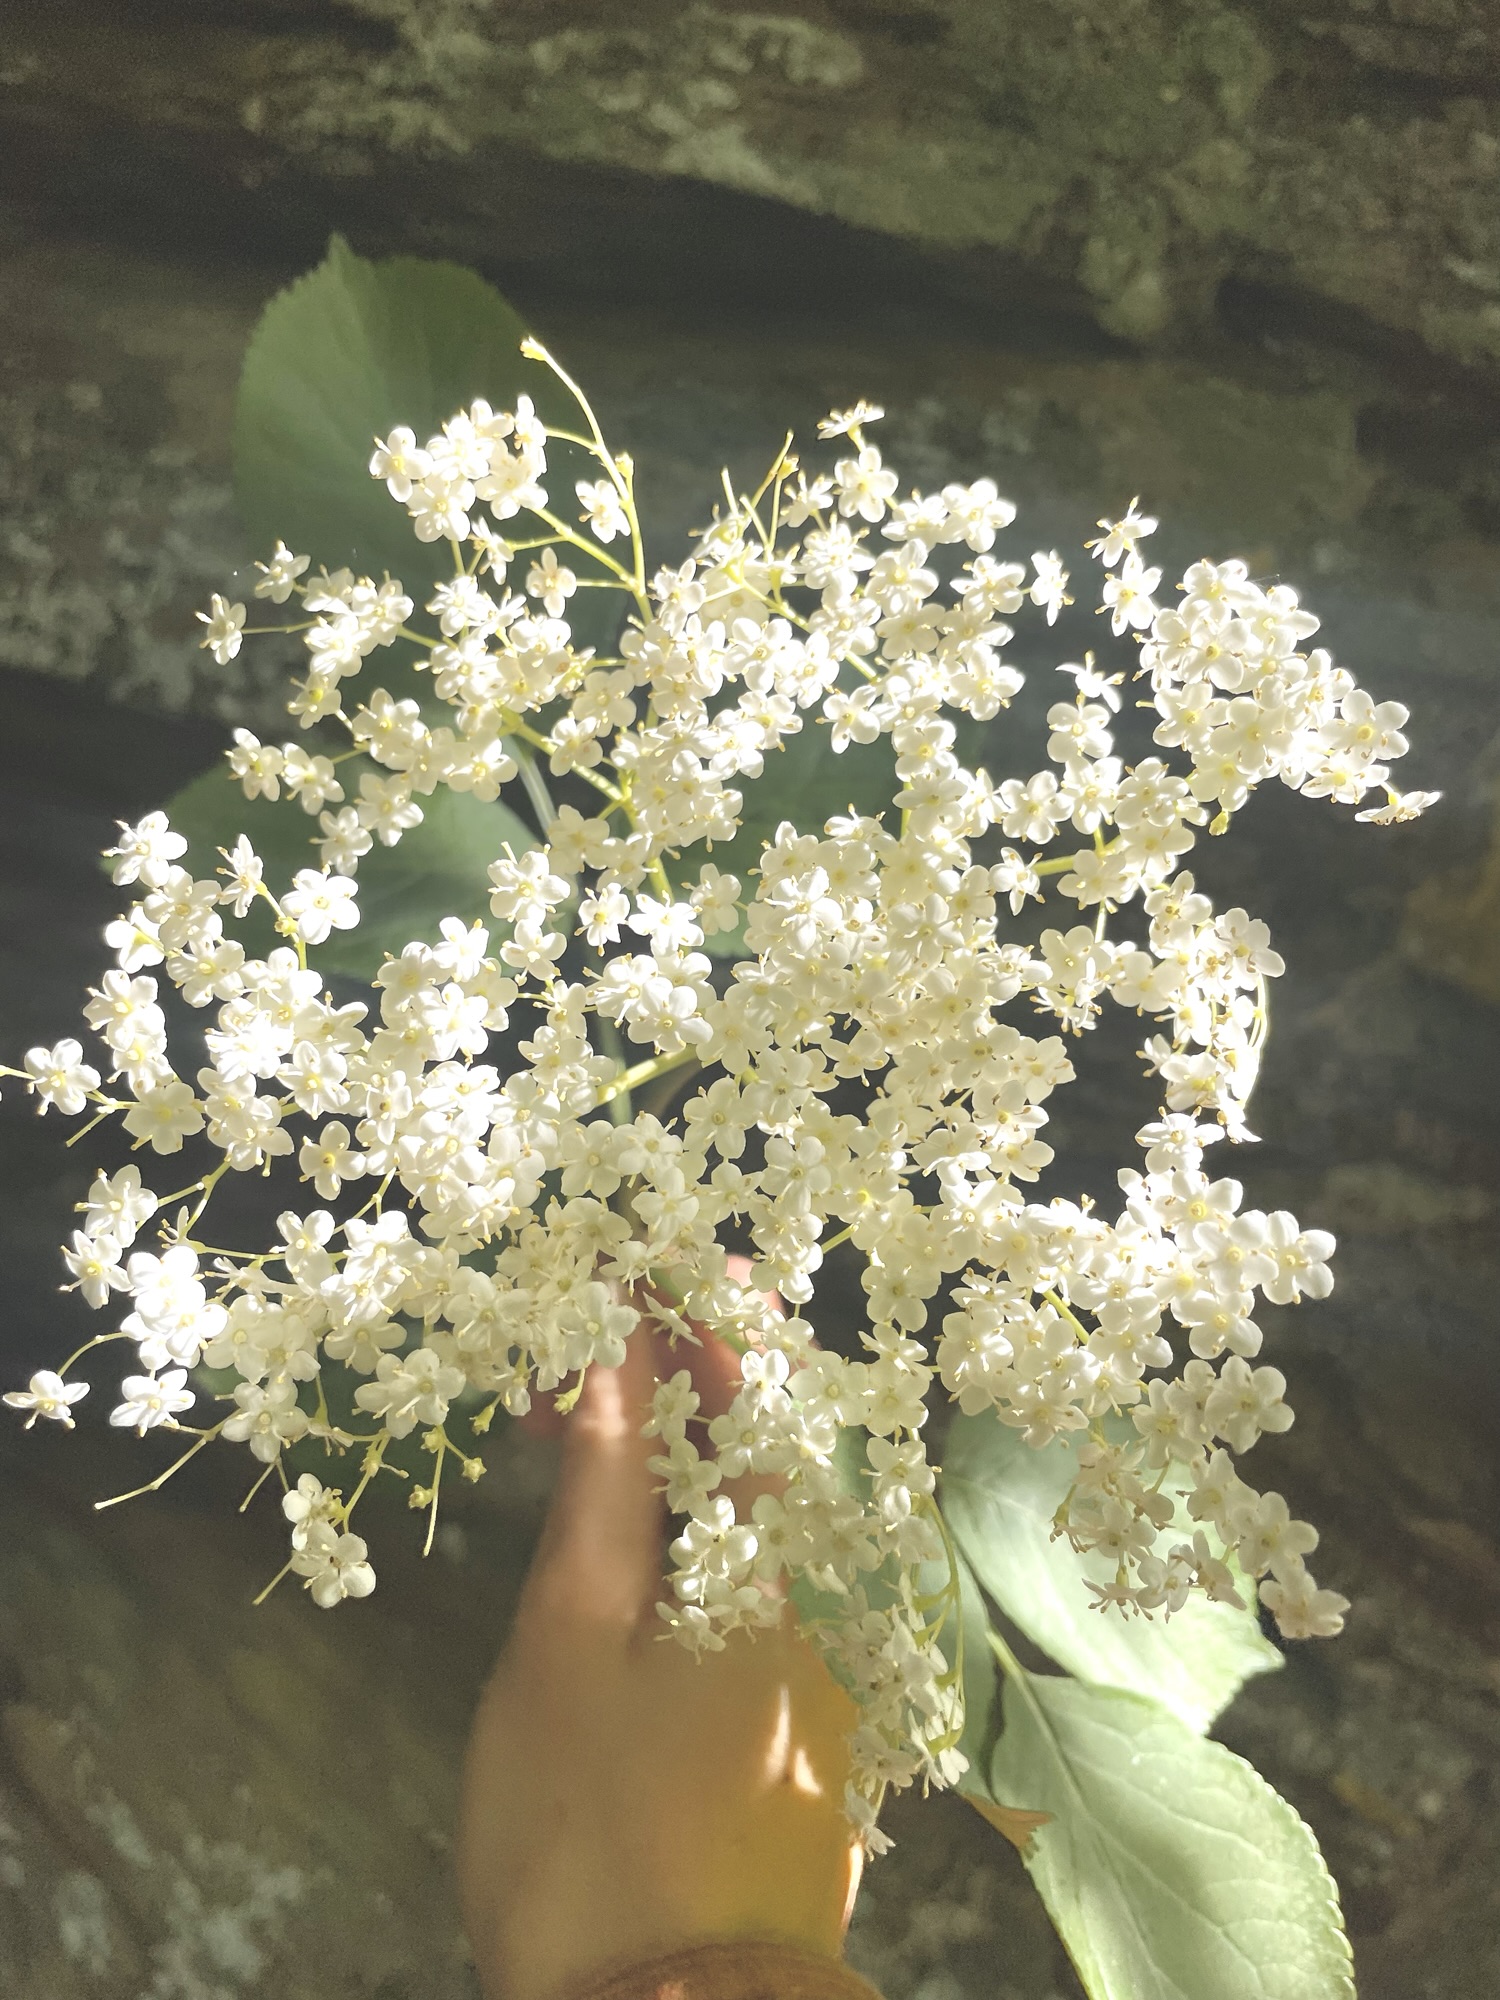
Eventually I reached another tree, surrounded by brambles on almost all sides but one. That one side was enough for me. Enough to gather some flowers to test the recipe I had.
After letting the flowers soak overnight and following the recipe very roughly, I had a test syrup the following morning. After deciding to make it a little more concentrated for the big batch, I could set out to make the real thing.
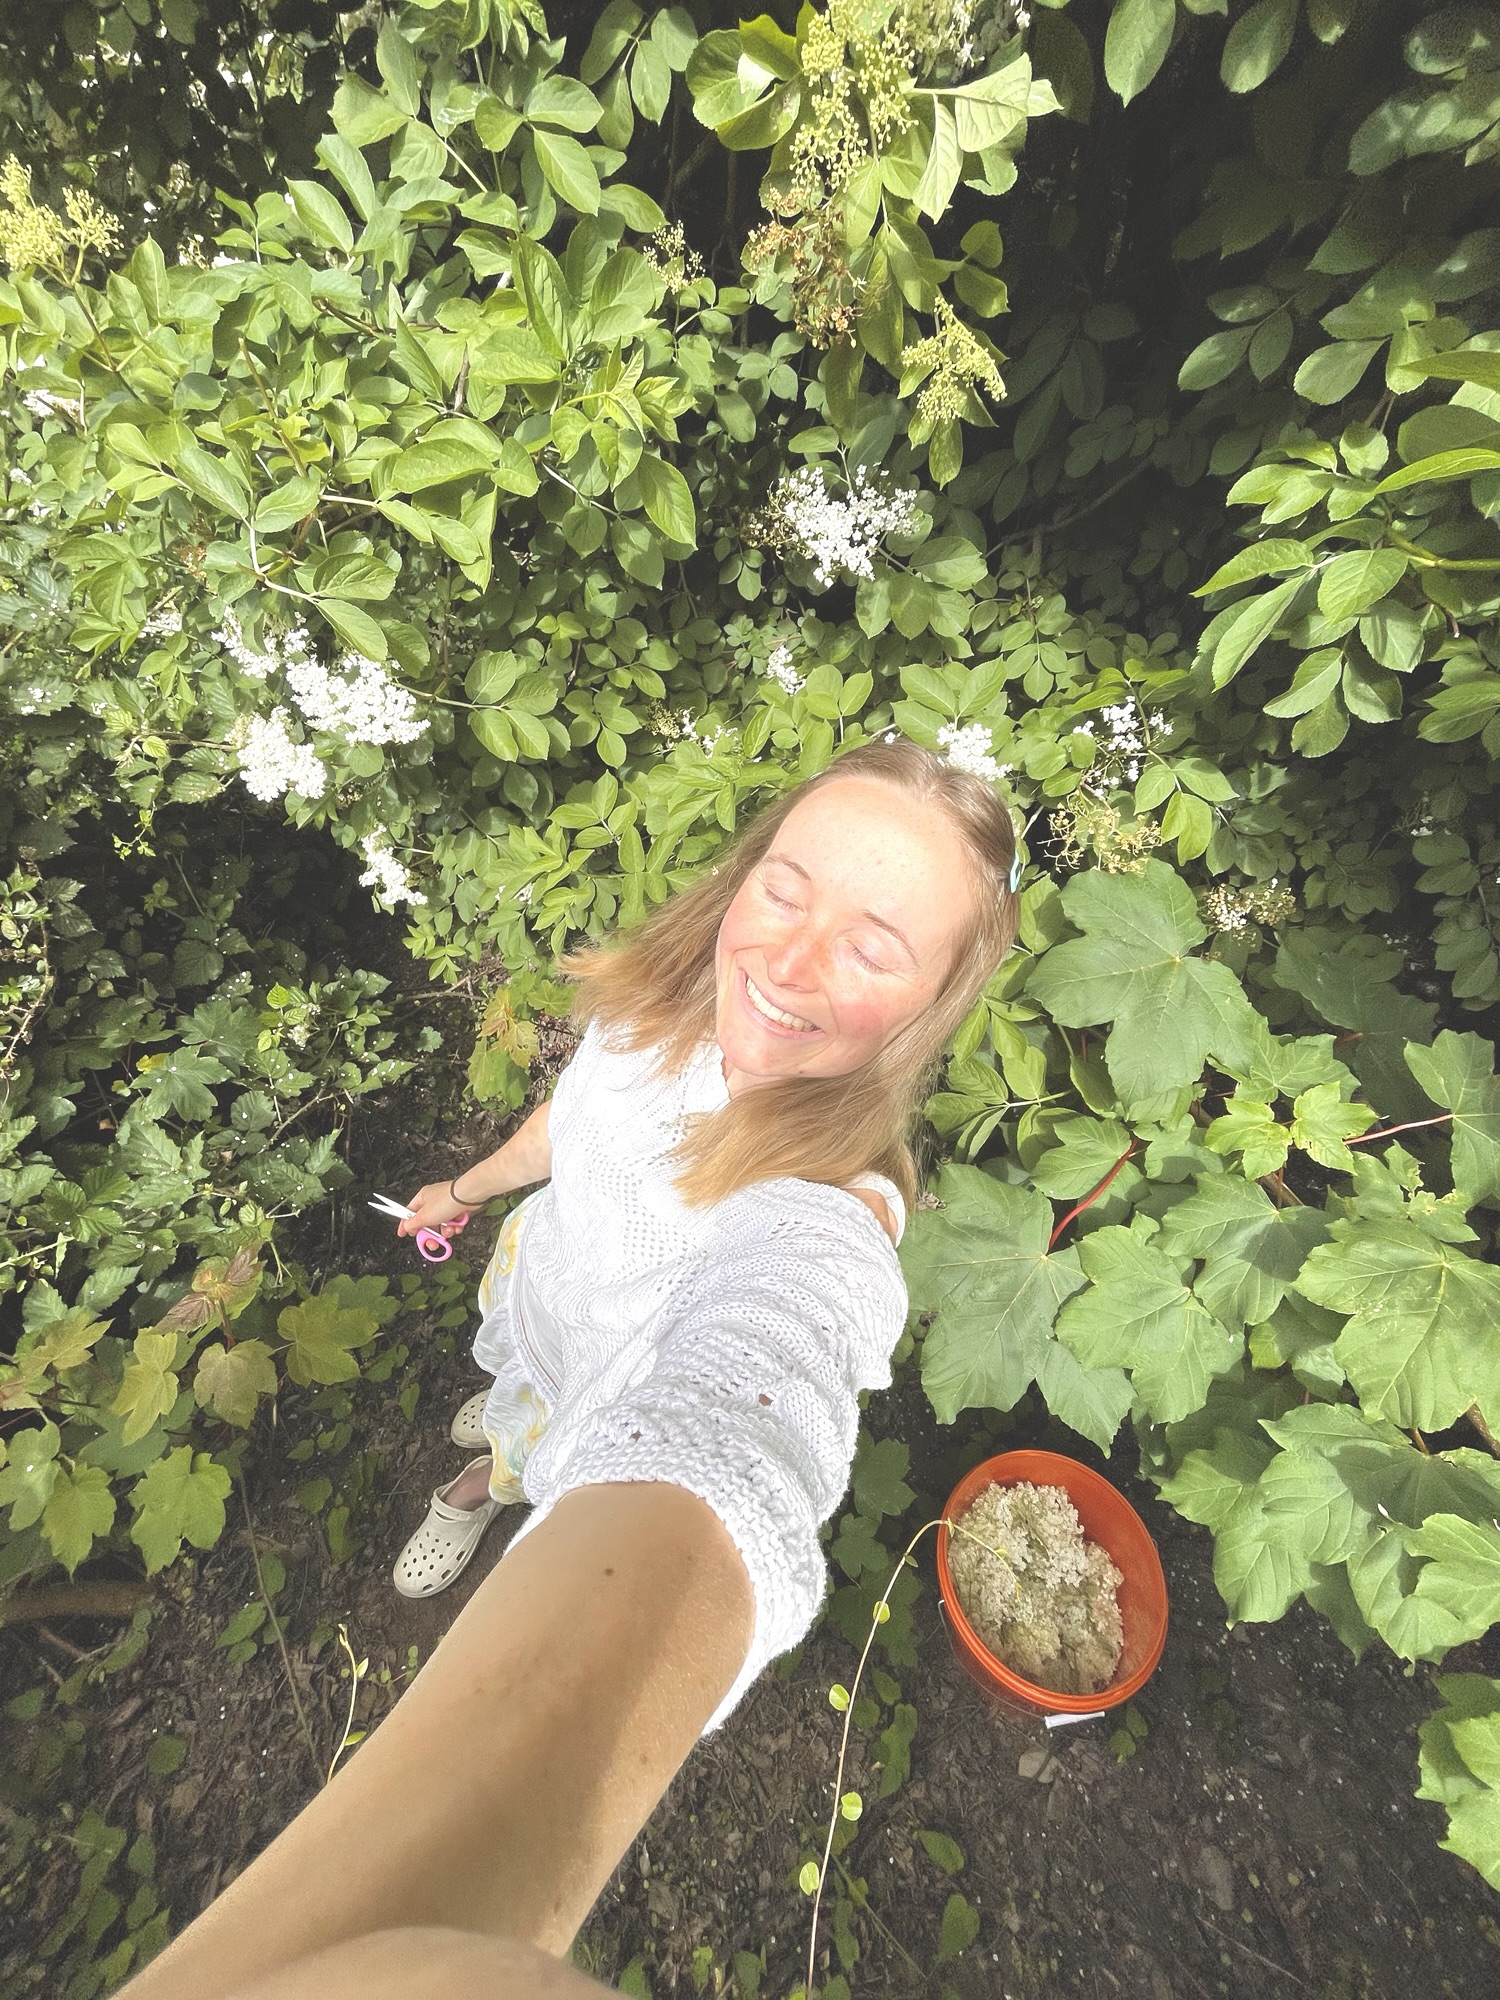
A new morning, and a big orange bucket for collecting flowers. I stripped most of what I could reach off one tree, and then thankfully found a spot I hadn’t seen before on the tall tree. After picking one hundred flower heads, I decided that would be enough and heading back to the kitchen to complete the next step.
Back in the kitchen, I boiled up some water to soak the flowers in overnight. This was the one point I regret and wish I’d done differently. When I poured the boiling water over the flowers, quite a few of them turned brown – scorched by the boiling water. I was following the recipe, but I don’t think I’d use boiling water next time. I’d probably swap it out for warm/hot water.
At this point the scorched flowers smelt bitter and burnt. I was so worried I’d just ruined all my flowers and wouldn’t be able to continue. But after my mum in law reassured me they were probably fine, I put the lid on my bucket and put it in a cool shaded place to sit overnight.
The next day I put my flowers back up in the kitchen bench and took off the bucket lid. That bitter smell hadn’t gone away! It didn’t smell great! By now, I was almost convinced everything was ruined. So I decided to make up a test batch in a little pot.
After making up that, and tasting it, I found, to my relief, that all was well. It tasted like elderflower cordial. Not bitter, not burnt. I could carry on with the other five liters.
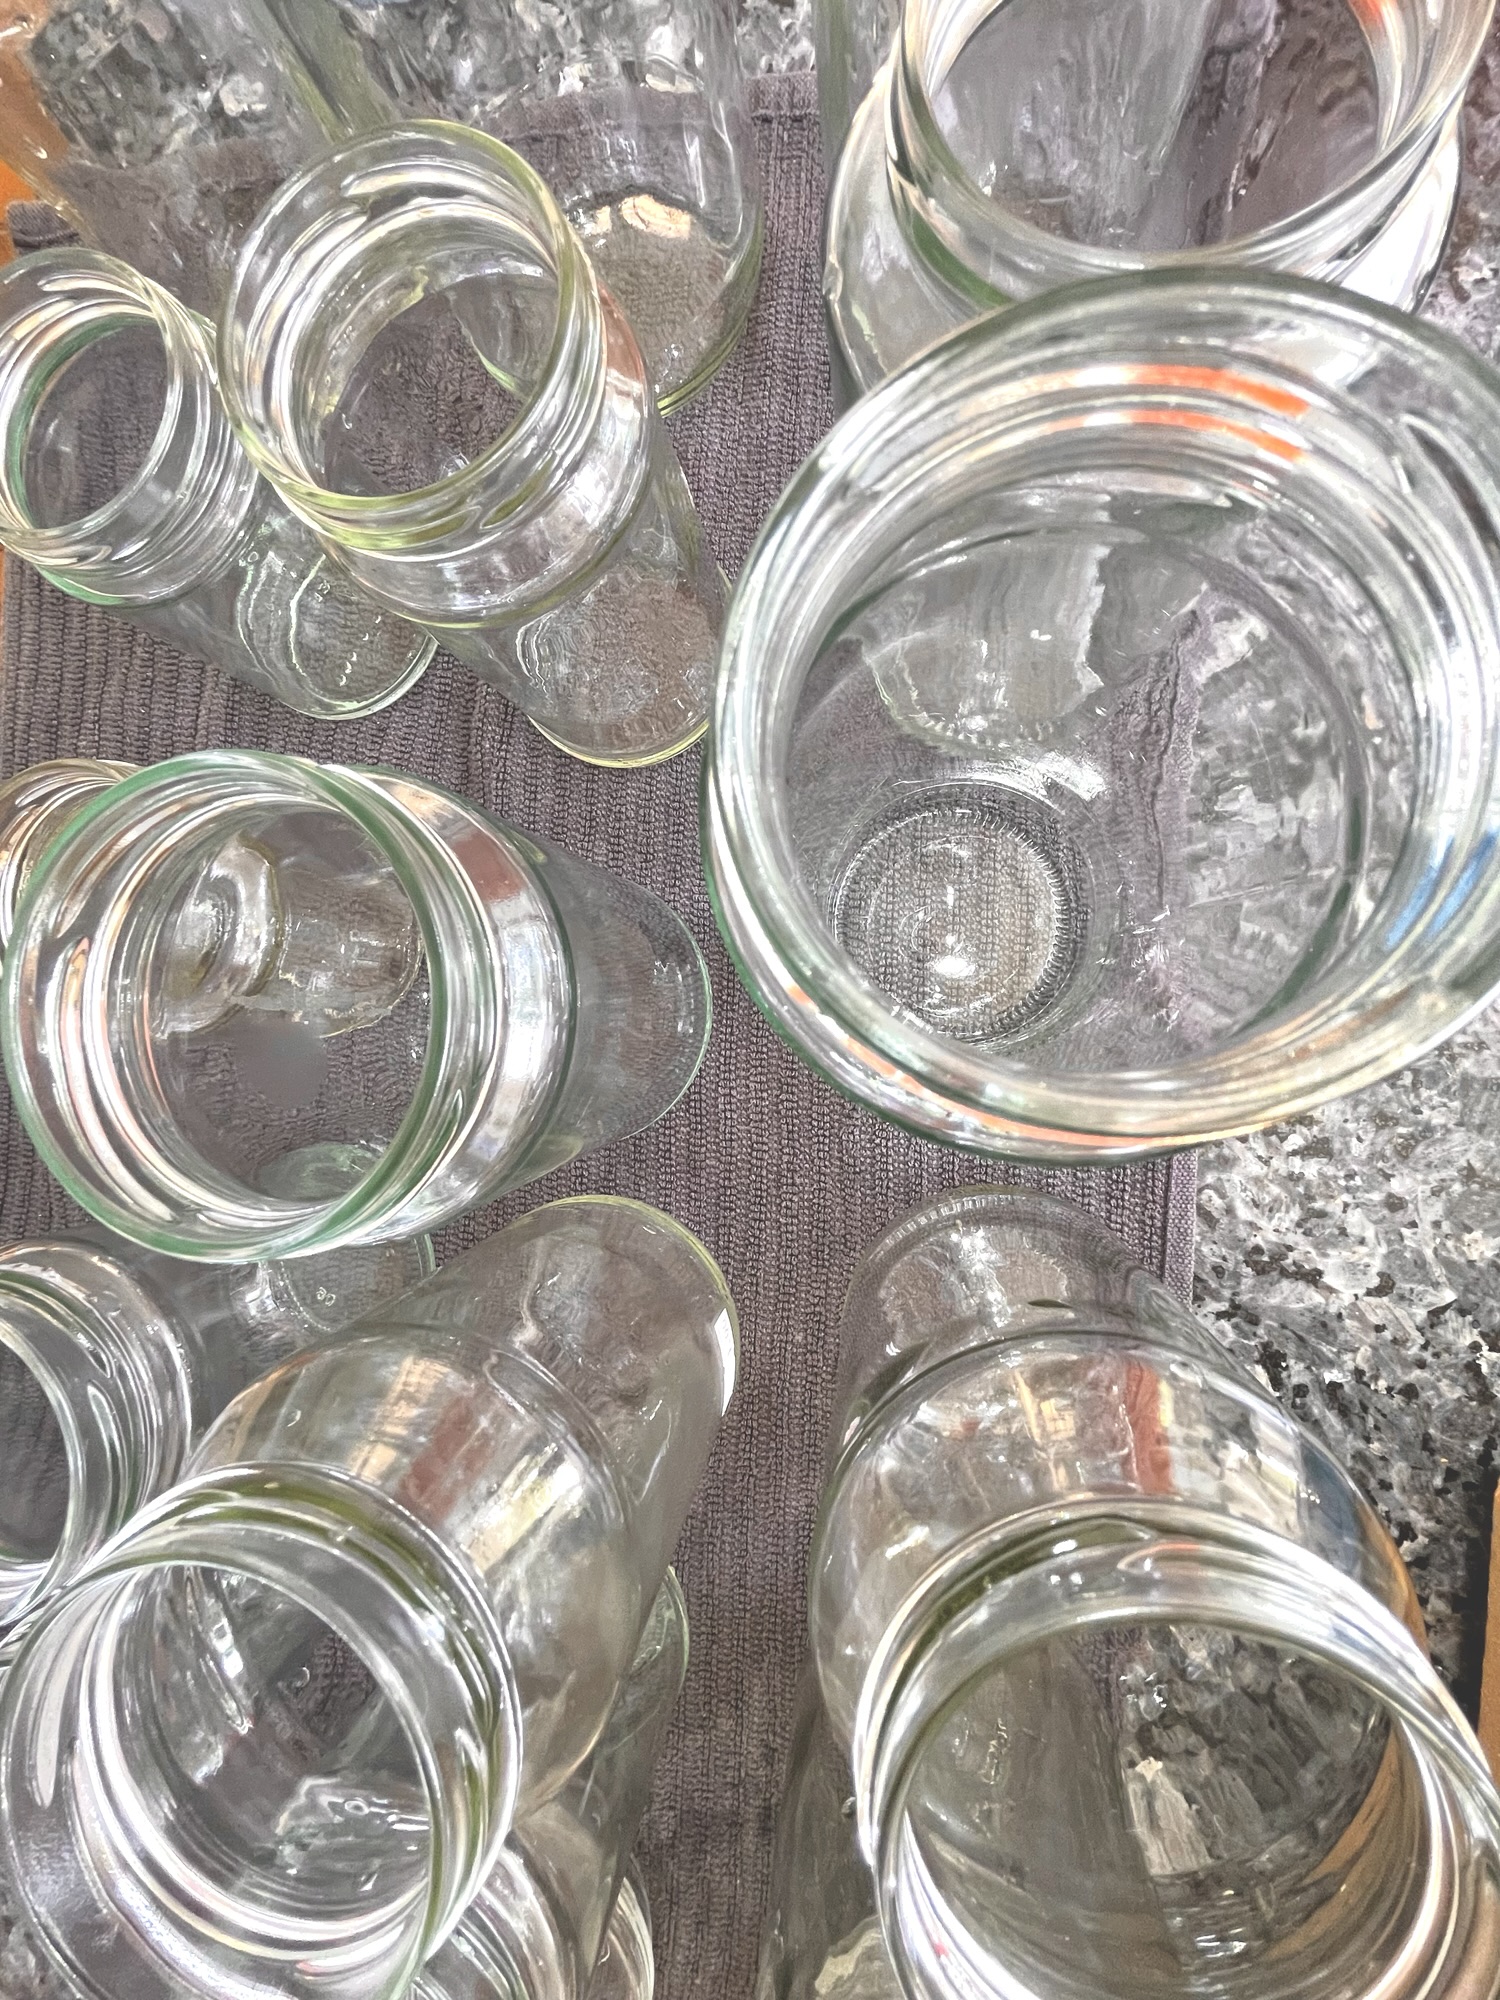
I strained the flowers water through a tea towel and transferred this to a big big pot. In went the sugar and lemon juice (I didn’t have lemons so just used juice which turned out fine). After it came to a simmer, I turned it off and set my jars out in a tea towel, ready to be filled with the golden syrup.
I was a little worried that the jars might crack, as I’d be pouring very hot liquid into cold jars. So I got a bowl of hot (not boiling) water and held the jars in the water for a bit so they weren’t completely cold. I don’t know if it actually made a difference, but none of my jars cracked. I wasn’t sure if mine were tempered glass, hence my concern. If you have tempered glass you’d be more likely to be fine.
Soon the jars were full, rims cleaned, lids on (not too tightly), and ready to go into the steamer.
I always lean towards water bath method for preserving, as I don’t want to have to handle burning hot jars. My mum in law has a steamer, which is even easier. It’s basically like an upside down pot, where you put water in the bottom and the jars sit above that water and steam once the lid is on. This is what I used for preserving these, worked brilliantly.
When the jars were just getting up to heat inside the steamer there was a lot of hissing going on and I was worried they were siphoning the cordial out. But this wasn’t the case, and everything was fine. Not sure what it was, perhaps some air escaping.
After they had finished steaming and cooled down I printed out some simple labels and taped them on.
All but one of my lids sealed, which was great. I just left the one in the fridge to use right away.
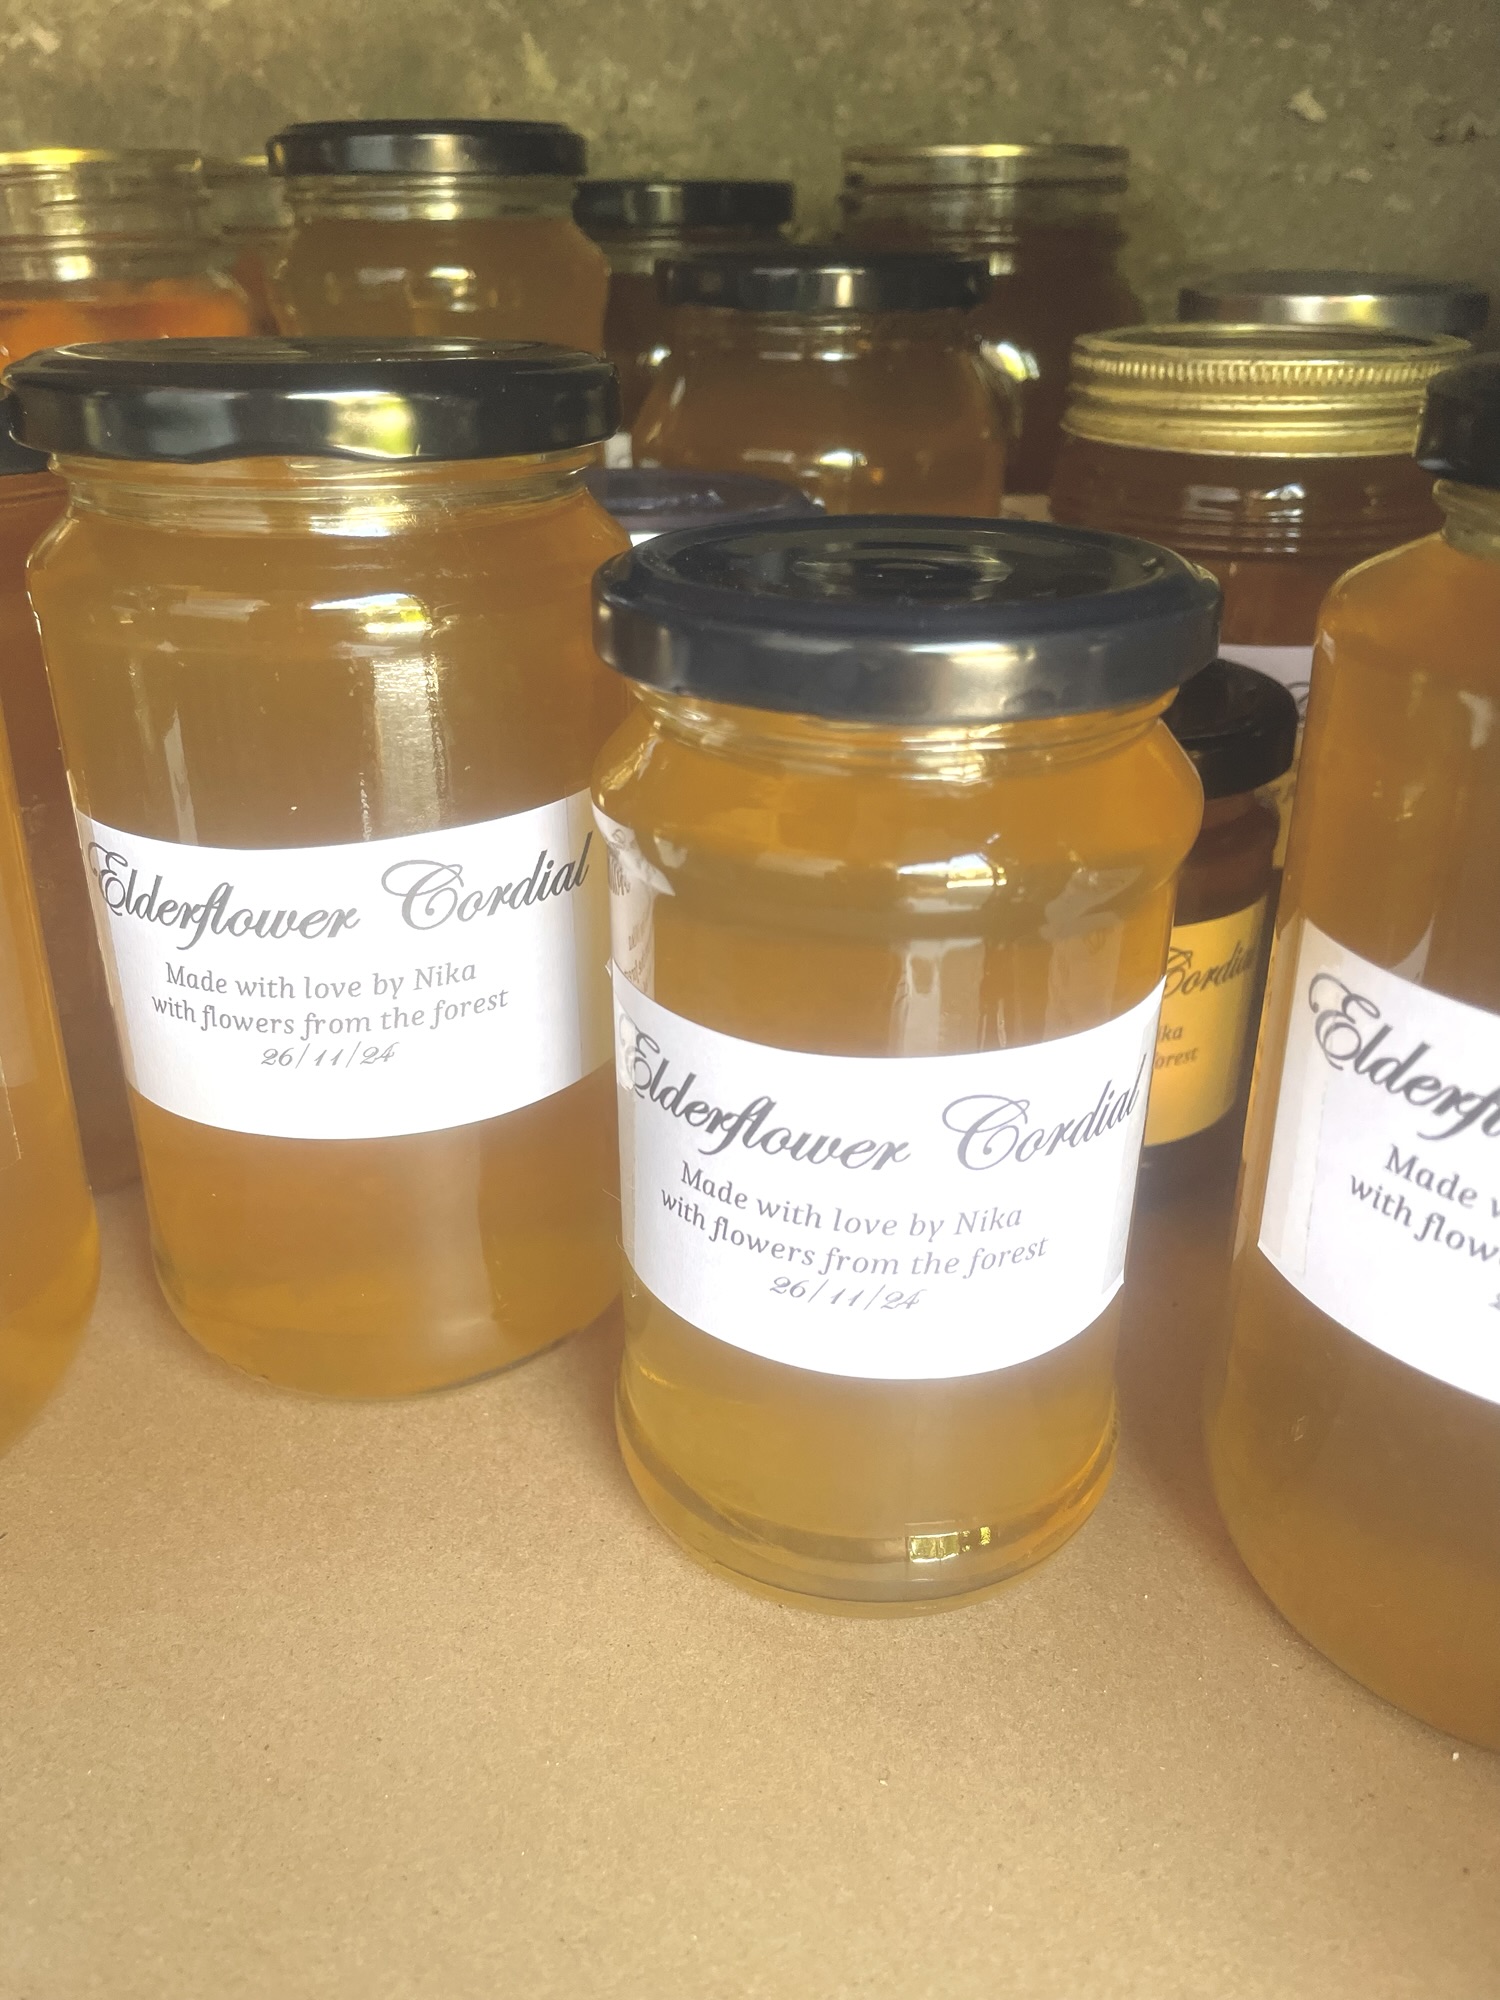
The recipe I used for this cordial is from the website “river cottage.net”. (Disclaimer: I am very very bad at following recipe’s so your results may vary slightly if you do!) It has a nice simple flavour, which I’m sure you could change up by adding different things. But I thought I’d start simple for my first time.
The test batch I made the day before starting my big one has a different taste, as I used brown sugar instead of white (was all I had at the time). It actually gave it a nice caramel flavour which the other one didn’t get. Quite a nice little twist if that sounds like something you’d like.
I love how the elderflowers look, and wanted to have them floating in the syrup for a little touch. But I wasn’t sure how they’d react being preserved and didn’t want to risk them going off. My other thought was that they likely wouldn’t float throughout, but just at the top, unless you made a jelly, not cordial. If anyone has put the flowers in their preserve, please let me know!
I hope this has shed some light on the process of making elderflower cordial, and that you can have some this summer (and beyond if you preserve it!) It’s such a lovely thing to have handy for when you want to drink something a little more fancy than water. I am one of those people who never has alternative beverages on hand, so having this cordial (which makes a lot of beverage while taking up little space) is great for when we have people over. Also amazing for these hot summer days in the south of New Zealand.